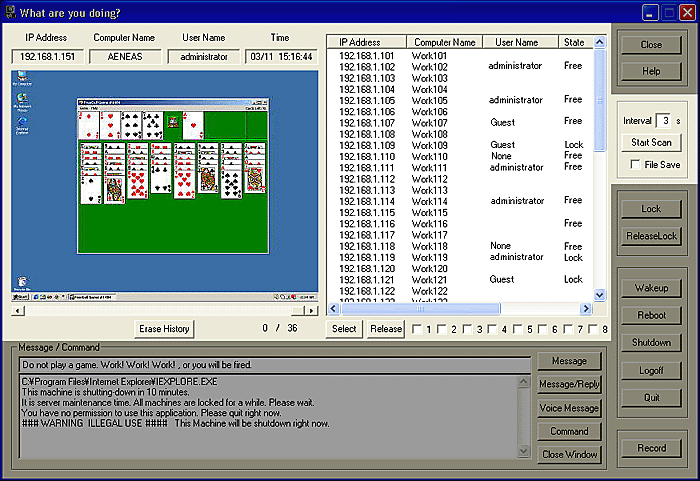
Desktop Image

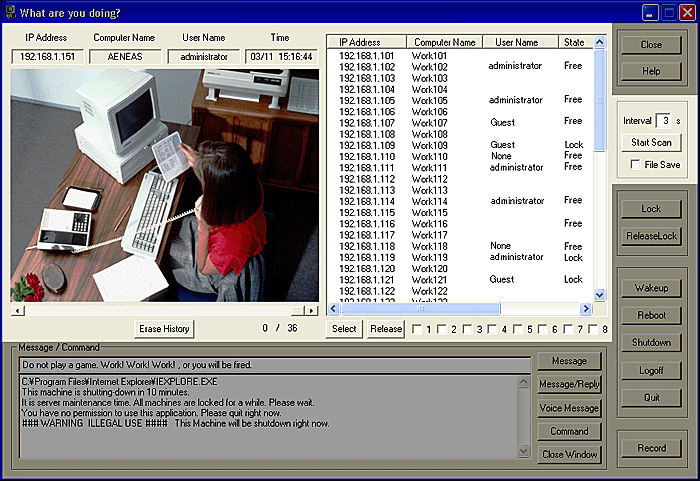
Live Camera Image
Single Capture
If you Left-Click a client in the list, you can get a reduced
desktop picture of the client.
If you Right-Click a client in the list, you can get a video camera
image of the client.
Scan
Capture
You can get a picture of more than one client automatically at regular
intervals.
First, Select the Clients in the list.
To get desktop picture, just click
[Start Scan] button.
To get video image, click [Start Scan] button with
holding down [Ctrl] key.
The [Start Scan] button change to [Stop Scan] button.
You can change the interval. To change, input a value into the box.
To stop scanning, click [Stop Scan] button. Also the scanning stops when
another button is clicked.
If you check [File Save] and start the scan, the captured images are saved
in each file automatically.
The file is saved in the "Image" folder which is located below
the controller's folder.
The file type is JPEG, and it is named as below.
[ComputerName]_[UserName]_Hour'Minute'Second.jpg
Scan
Capture (Multi Screen mode)
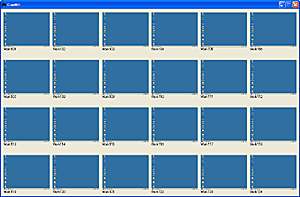
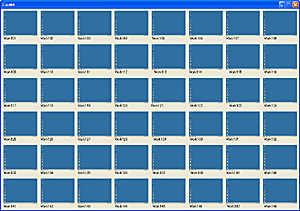
You can see the pictures of more than one client in a window (Multi Screen).
First, Select the Clients in the list.
To get desktop picture, click [Start Scan] button with
holding down [Shift] key.
To get video image, click [Start Scan] button with
holding down [Ctrl] + [Shift] key.
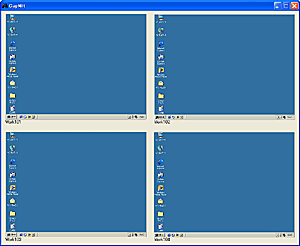
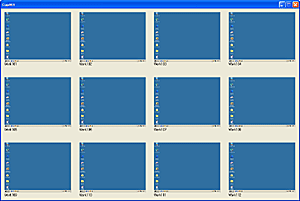
The [Start Scan] button change to [Stop Scan]
button.
You can change the interval. To change, input a value into the box.
To stop scanning, click [Stop Scan] button. Also the scanning stops when
another button is clicked.
You can not save the picture to a file in this mode.
You can get a large size picture to click on each screen picture.
Enlarge
the portion of the picture
You can enlarge the portion of the picture.
To get the enlarged image, click the position you want to enlarge on the
small picture.
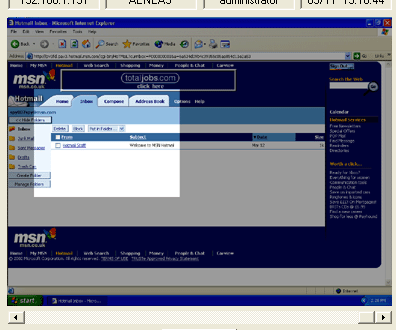
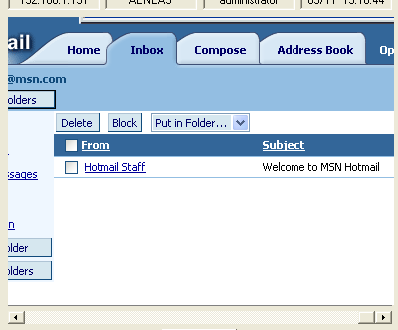
You can get 388 * 288 dots size cut image of
the client screen.
Strictly speaking, this function does not enlarge the captured small image.
When you click with [Ctrl] key, a new image is captured and sent to the
controller.
Save
a picture
You can save
the picture in a file.
To save,Right-Click on the picture, and a dialog box is opened
to save as below.

Large size picture
You can get a large size picture. (Desktop screen only)
To get, Left-Click on the picture,
and a new window is opened to
display a large size picture.
To get a new picture, click on the large size picture.
To close the window, press [Esc] key.
Save
a large size picture
You can save
the large size picture too.
To save,Double-Click on the picture, and a dialog box is opened
to save as below.

History
The captured small size image is saved automatically as a history. (Max
9,999).
You can review it anytime you wish.
To review the past image, use the scroll-bar below the picture.
To erase all the saved images, just click [Erase History] button.
Erase a window
You can erase a window displayed on a client's screen remotely.
Click the window you wish to erase on the small image with
holding down [Alt] key.
The window is erased immediately on the client.
If another window is locaed behide the target window, the window is erased
together. (Transfixion)
Video
Capture Setting
To get a video camera image, the client machine must have a video caputure equipment and
video capture diriver.
If you can not get a video camera image, you may adjust the vido capture
setting.
To adjust the setting, you use Video
Capture Setting Program.
Notes
If a scanning interval is short, it will affect to the network performance.
If [Scan Capture] is performed to one client at a short interval,
heavy load may be applied to the client and the performance may fall down
greatly.
It takes several seconds to get a large size picture. Please wait
until it is displayed. (Do not perform Left-Click repeatedly and continuously.)